
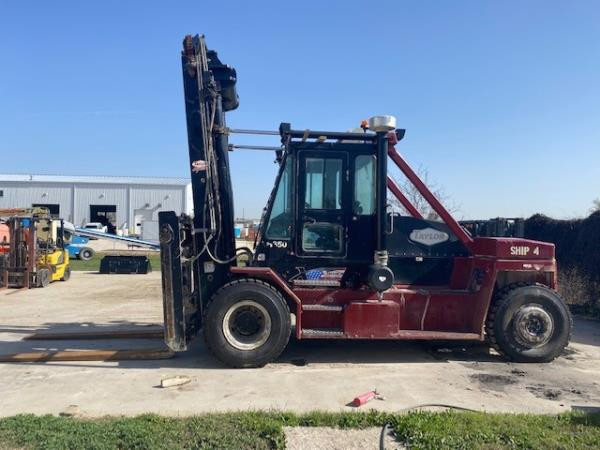
Make: TAYLOR
Model: TXH350L
Year: 2016

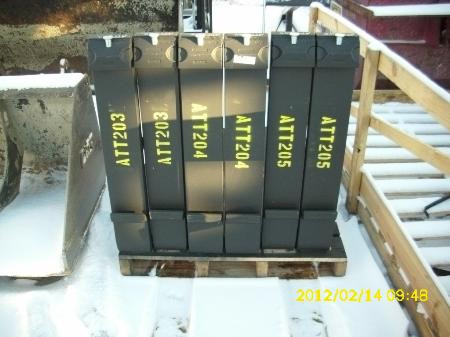
Make: Manitou
Model: 48" Forks
Year: 2012
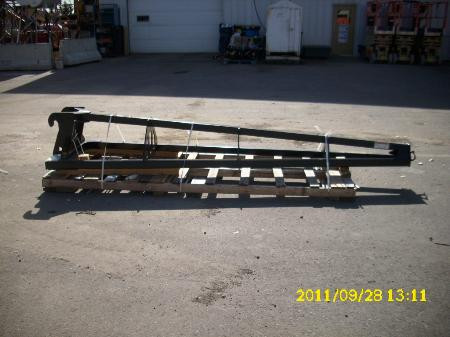
Make: JLG
Model: Truss Jib 12'
Year: 2011
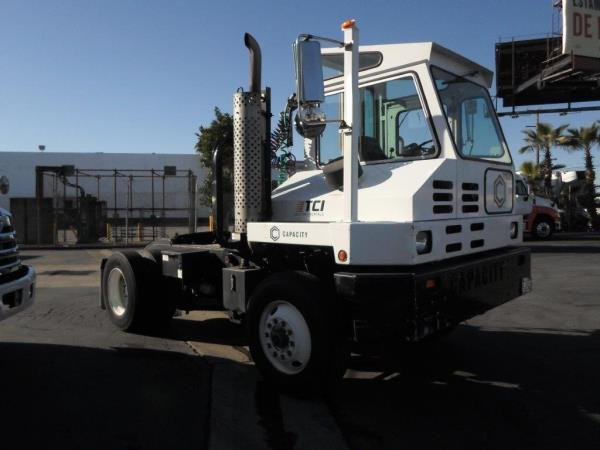
Make: Capacity
Model: TJ5000 DOT
Year: 2010
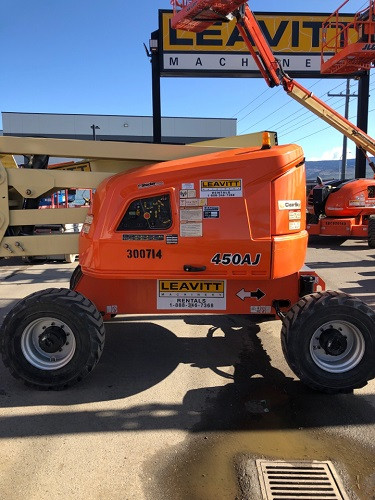
Make: JLG
Model: 450AJ
Year: 2016

Make: FrostFighter
Model: IDF350
Year: 2015
Daewoo Propane Forklifts Anaheim
Change a Propane Tank
Propane powered forklifts are frequently utilized inside warehouses. The lift truck is designed with the propane tank mounted at the back of the operator. The tanks, which look a lot like beer kegs, need to be replaced periodically since they have a limited lifespan. Forklift drivers must use caution when handling propane tanks. Compressed gases are really hazardous, particularly because the gas is flammable. Use care when removing and replacing propane tank to prevent injury.
1 To change a propane tank, first stop the lift truck and leave the engine running, and turn the valve on the tank off. Let the forklift run until the engine dies. This process burns off the gas in the transfer hose which connects the tank and the engine. Before taking the next steps, put on the correct safety equipment, like for example insulated gloves made of either leather or neoprene. It is essential for you to protect your skin from contact with the compressed gas, which is extremely cold.
2 The tank hose needs to be disconnected, followed by removing the tank from its holding straps. When putting in a new tank, tighten the nut to reconnect the holding straps and to reattach the hose at the valve of the tank.
3 Leaks can be inspected just by applying soapy water to the valve and slightly opening it. If there is a leak, it will cause bubbles to foam from around the valve. If this happens, check the valve area and the connection hose at the nut. The connecting nut must be re-tightened if you detect any leaks in the area of the valve, and then perform the leak checking process once more. Persistent leaks mean that the nut and connecting hose must be replaced. Then again, if replacing the hose and nut still does not stop the leak, the tank should be replaced.
4 Open the valve all the way to enable the gas to fill the connecting hose. Then you could start the lift truck and continue working.
- Yale Stand Up Forklift Anaheim
A forklift to be a successful model should be built powerful to last the working conditions for many hours of use. It has to be able to move loads effectively and quickly too. The machinery... More - Toyota Dual Fuel Forklift Anaheim
Sakichi Toyoda was the first founder of the Toyota Industries Corporation or TICO during the year 1926. TICO has expanded the scope of its business domains since the companies inception to promote diversification, like logistic... More - Comansa Tower Cranes Anaheim
Since 2011, the Linden Comansa company has offered its clients the LC 1600 series tower cranes. This series includes the models: 16 LC 185, 16 LC 260 and 16 LC 220. These units are available... More - Yale Outdoor Forklift Anaheim
Reach Assembly & Carriage Both the carriage and the reach assembly receive lots of stress throughout a typical work shift. In order to make sure that the truck keeps production levels high, high durability of... More - Mitsubishi IC Forklifts Anaheim
The forklift usage all around the world has grown in insurmountable measures in regards to the warehousing and manufacturing industries. A forklift is a powered industrial truck utilized for lifting and transporting items. The equipment... More